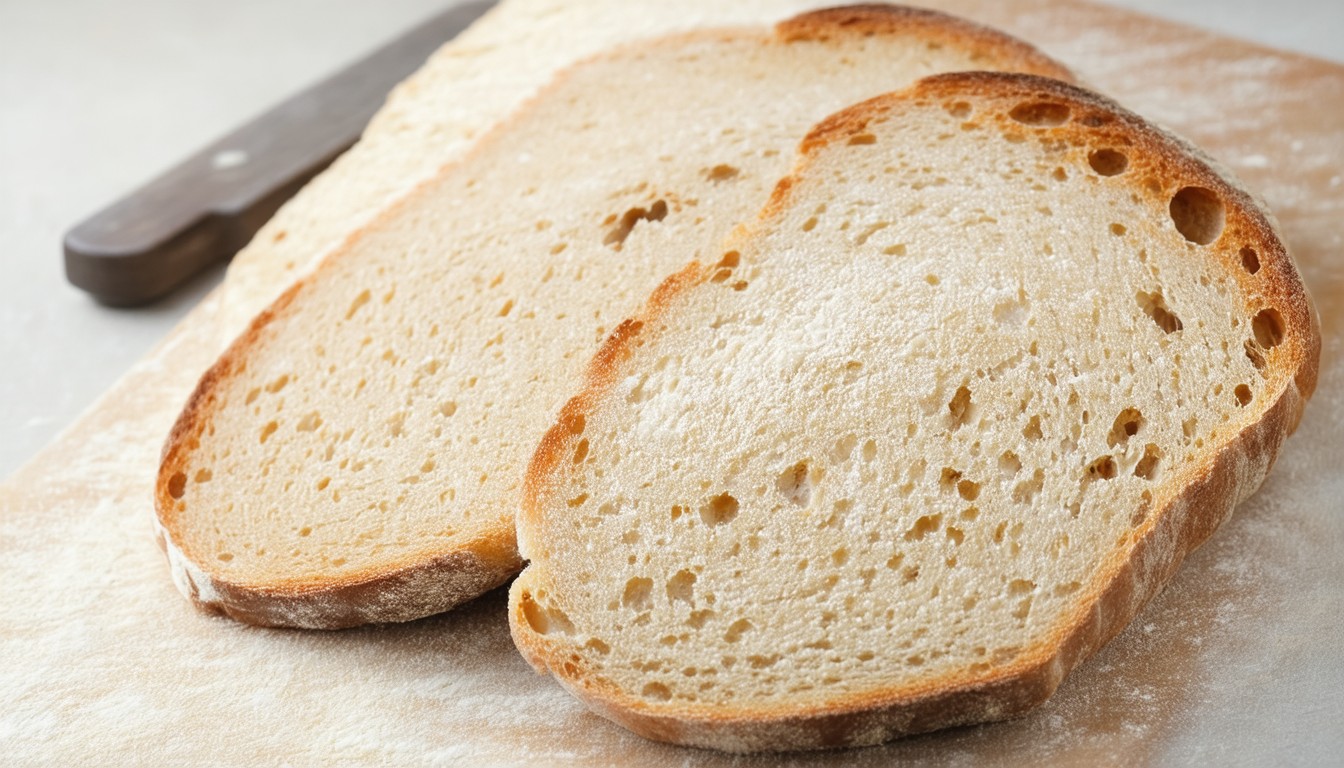
Sourdough bread’s tangy aroma and rich flavor have made it a staple for home bakers and artisans alike. At the heart of every loaf is the sourdough starter—a living culture of wild yeast and beneficial bacteria developed from just flour and water. Feeding the starter is more than a routine; it’s an act of nurturing a living colony whose health and vigor directly affect the bread’s rise, flavor, and texture.
Unlike commercial yeasts, wild yeast in sourdough feeds slowly and imparts complex, nuanced flavors. Regular feedings maintain this delicate balance, supporting the right microbial environment for robust fermentation. Home baking trends, particularly during periods of heightened interest (such as the global surge in home bread baking seen during 2020), have propelled sourdough starters from obscure kitchen experiments to everyday companions.
The Fundamentals of Feeding a Sourdough Starter
Feeding a sourdough starter is both a science and an art. The process essentially “refreshes” the microbial ecosystem, ensuring the yeasts stay active and the lactobacilli remain present in healthy numbers.
What to Use: Ingredients and Ratios
A standard feeding involves three core ingredients:
- Starter (existing culture)
- Flour (often unbleached all-purpose, bread, or whole wheat)
- Water (filtered or tap, chlorine-free recommended)
The most common feeding ratio, especially for maintaining starter at room temperature, is 1:1:1 by weight (equal parts starter, flour, and water). For example, if you keep 50g of starter, feed it with 50g each of flour and water.
“Think of your starter as a pet or a garden—it thrives best with consistent care, quality ingredients, and a keen observation of its behavior,” shares Sarah Owens, James Beard Award-winning baker and sourdough expert.
Flour choice can subtly impact fermentation speed and flavor. Whole grain flours introduce more nutrients and can jump-start less active starters, while all-purpose flour yields a milder, more predictable ferment.
Step-by-Step: How to Feed Sourdough Starter
Following a repeatable, simple process removes much of the guesswork for bakers. The following is a widely used home bakery method:
1. Stir and Assess the Starter
Before feeding, check your starter’s status. It should exhibit bubbles, a mild tangy aroma, and some expansion since the last feeding. A thin layer of liquid (“hooch”) indicates hunger but is usually harmless; simply stir it back or pour it off as you prefer.
2. Discard a Portion
Remove and discard roughly half the starter. This prevents uncontrolled growth and keeps the acidity manageable—not discarding can lead to a sluggish, overly sour starter.
3. Add Fresh Flour and Water
Weigh or measure the flour and water. Add both to the jar, stirring thoroughly. Aim for a consistency like thick pancake batter—easy to mix, not runny.
4. Mix and Mark
Stir until smooth. Scrape down the sides, then loosely cover the jar (lid or cloth). Mark the starter’s level with a rubber band; this makes it easy to spot doubling or tripling, which signals an active starter.
5. Store Appropriately
- Room Temperature Feeding: Ideal for daily baking. Feed every 12–24 hours, depending on climate and use.
- Refrigeration: Feeding once a week suffices if you bake less often. Allow the starter to rise at room temperature post-feeding before refrigerating for best results.
Common Feeding Schedules and Adjustments
Different baking habits call for different routines. Flexibility is key.
Regular (Daily) Feeding
For starters kept on the counter at room temperature, daily feedings provide maximum fermentation vigor. Bakeries and prolific home bakers often prefer this schedule.
Occasional or Weekly (Refrigerated) Feeding
For hobbyists baking once a week or less, refrigeration slows activity. Feed the starter, let it ferment until bubbly and slightly risen (about 4–8 hours, depending on ambient temperature), then refrigerate. Before baking, bring it back to room temperature and feed one or two times for optimal leavening.
Adjustments for Climate and Flour
Warm kitchens speed up fermentation, sometimes necessitating more frequent feeding. Whole grain flours tend to ferment faster than white. Monitoring the starter’s rise and scent is more reliable than the clock.
Signs a Starter Needs Feeding:
- Aroma shifts to sharp vinegar or alcohol
- Surface pools with grayish “hooch”
- Sluggish, minimal bubbling
In these cases, a few feeding cycles with increased discard can quickly restore balance.
Real-World Practices and Tips for Consistent Results
Bakeries around the world maintain starters that have thrived for decades—proof of the resilience of sourdough cultures with proper care. The Tartine Bakery in San Francisco, for example, famously keeps a tight feeding schedule, always tailoring water temperature and flour blends to seasonal shifts.
Managing a starter at home scales these principles down, emphasizing:
- Observation: Watch for bubbling and aroma changes over strict schedules.
- Hydration: Most starters work well at 100% hydration (equal weight flour and water), but adjusting for a thicker or thinner consistency is common.
- Discard Options: Use discard in pancakes, waffles, or crackers, reducing food waste and experimenting with new recipes.
Troubleshooting Common Sourdough Starter Issues
Even with careful feeding, starters sometimes falter. Here’s how to address frequent challenges:
Lack of Bubbles or Rising
- Confirm water isn’t heavily chlorinated
- Increase temperature slightly (aim for 70–75°F/21–24°C)
- Switch to whole wheat flour for a few feeds to boost microbial diversity
Mold or Pink/Orange Streaks
- Discard starter and begin anew, as these indicate contamination outside normal sourdough fermentation.
Starter Smells Unpleasant
- Mild vinegary or yeasty notes are normal; rotten or cheesy smells mean undesirable bacteria may be present. Multiple quick feedings can help recover a sluggish starter.
“A healthy starter should be lively, fragrant, and consistently double in volume after a feeding within 4–8 hours at room temperature,” notes Dr. Stephen Jones, director of the Bread Lab at Washington State University.
Conclusion
Feeding a sourdough starter is a straightforward yet rewarding ritual, blending scientific observation with everyday routine. The process—discarding, replenishing with fresh flour and water, and watching for growth—nurtures the microbes that define the soul of sourdough baking. Consistency, patience, and simple adjustments quickly yield a vibrant, robust starter ready for any loaf.
The journey of caring for a sourdough starter teaches both flexibility and attentiveness—skills that translate seamlessly into successful bread baking. By understanding your starter’s cues and maintaining regular feedings, even novice bakers can experience the unique satisfaction of crafting their own sourdough bread from scratch.
FAQs
How often should I feed my sourdough starter?
If kept at room temperature, feed your starter once every 12 to 24 hours. For refrigerated starters, weekly feeding is usually sufficient, unless you plan to bake; in that case, feed more frequently to reactivate it.
What’s the best flour for feeding sourdough starter?
Most bakers use unbleached all-purpose or bread flour for regular maintenance. Occasionally incorporating whole grain flour can boost microbial activity, especially if the starter seems slow.
Can I use tap water to feed my sourdough starter?
Tap water works for many bakers, but if your water is heavily chlorinated, using filtered or dechlorinated water is recommended to protect the wild yeast and bacteria.
Why do I need to discard part of the starter when feeding?
Discarding keeps the overall microbial environment balanced and prevents the starter from becoming overly acidic or unwieldy. It also helps reduce waste and keeps quantities manageable.
My starter isn’t bubbling after feeding. What should I do?
Check the temperature and try feeding with whole grain flour. Ensure your water doesn’t contain high levels of chlorine, and give your starter a few days of regular feedings to encourage activity.
Can sourdough discard be used in other recipes?
Absolutely. Sourdough discard is versatile and can be added to pancakes, muffins, crackers, or even used as a flavor boost in some batters, reducing waste while adding unique character to your baking.
